Sunday, May 2, 2021

What lays beneath...

Later this year we hope to attend the UK x1/9 owners club annual get together.  Due to Covid it didn't go-ahead last year but we are ever hopeful that by September 2021 we should be having a great wet (no!) weekend in Wales!

I can't wait to be honest, some great driving roads, food and wine will be on offer and some great guys and gals to chat to...finger crossed.

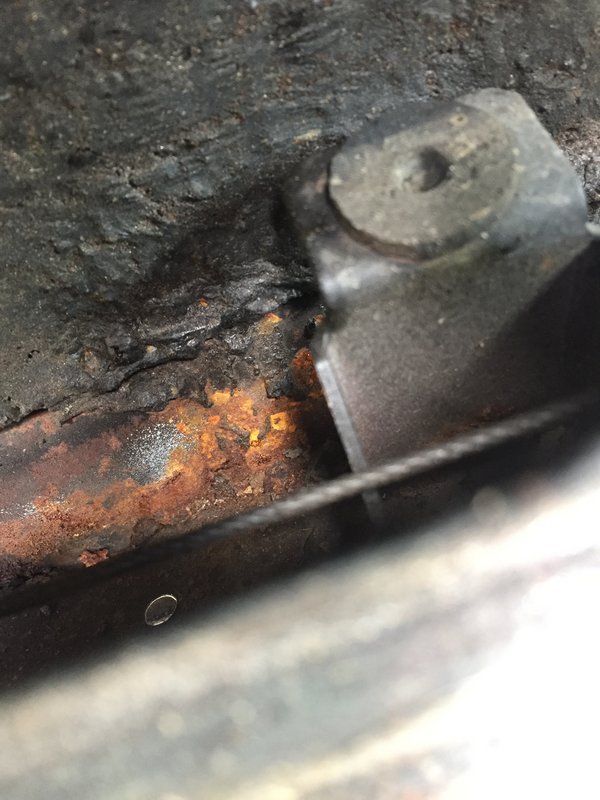
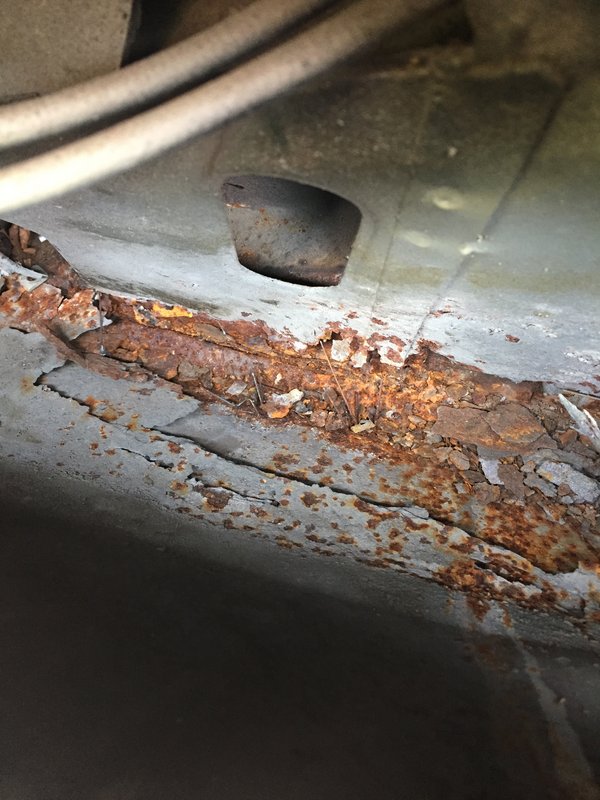
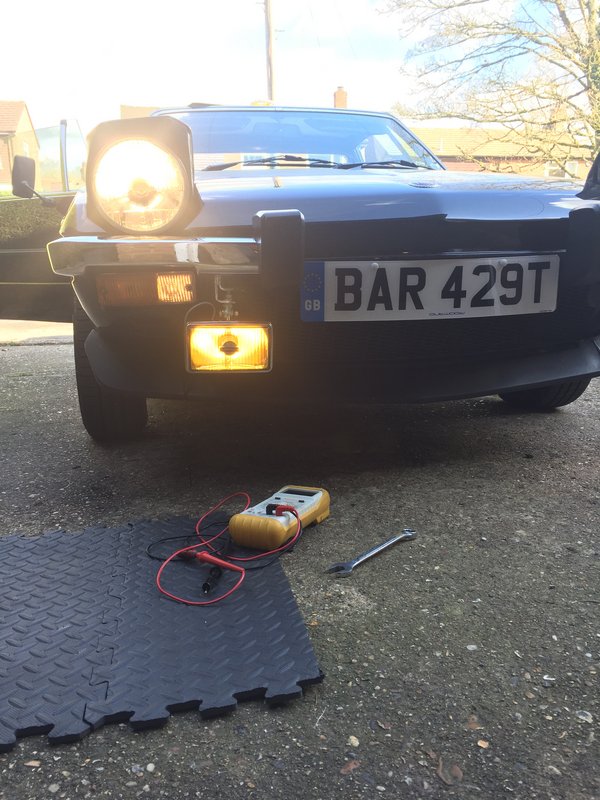
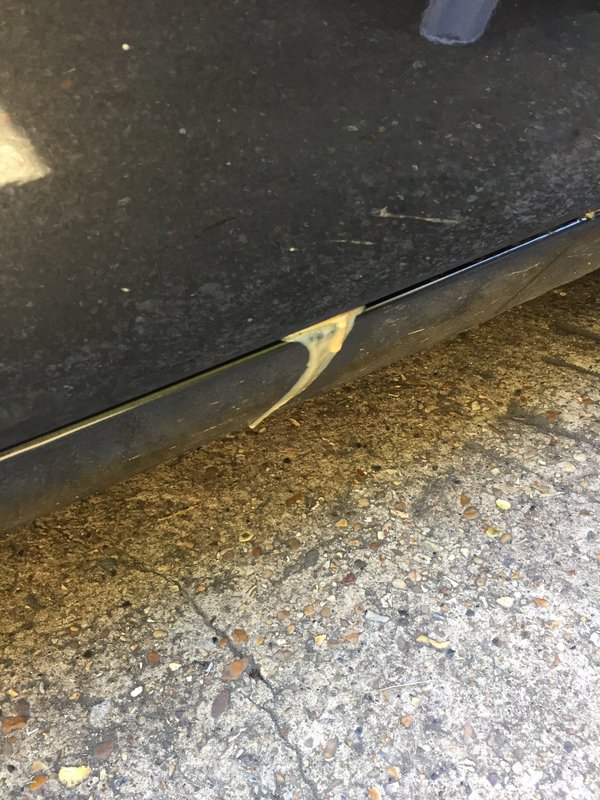
With this in mind I've set about doing some jobs on BART in preparation.  Over the last year I've noticed the bottoms of the doors, especially the drivers door starting to show more signs of the dreaded tin worm.  At some point they will need attention, maybe next year, in the mean time I decided to investigate with the goal of protecting what I can now so they don't worsen too much.

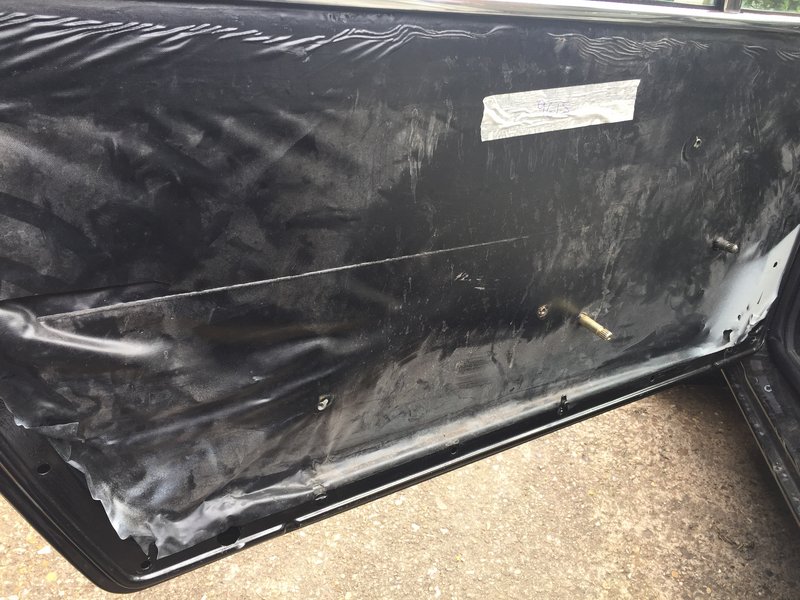
First task was to take the door card off the drivers side, easy enough except for the window winders which are held on with a dreaded horseshoe clip!  There are special tools you can buy that indicate easy removal but I don't have one....some googling dug up a handy top of using a cloth squeezed in-between the handle itself and the round backing piece.

The gap on BART was so small I could only just force in a single layer of an old cotton sheet.


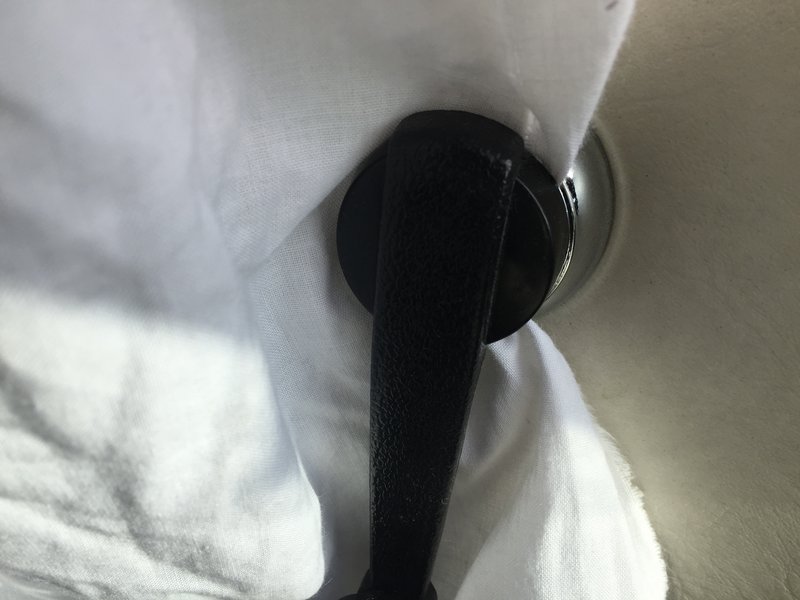
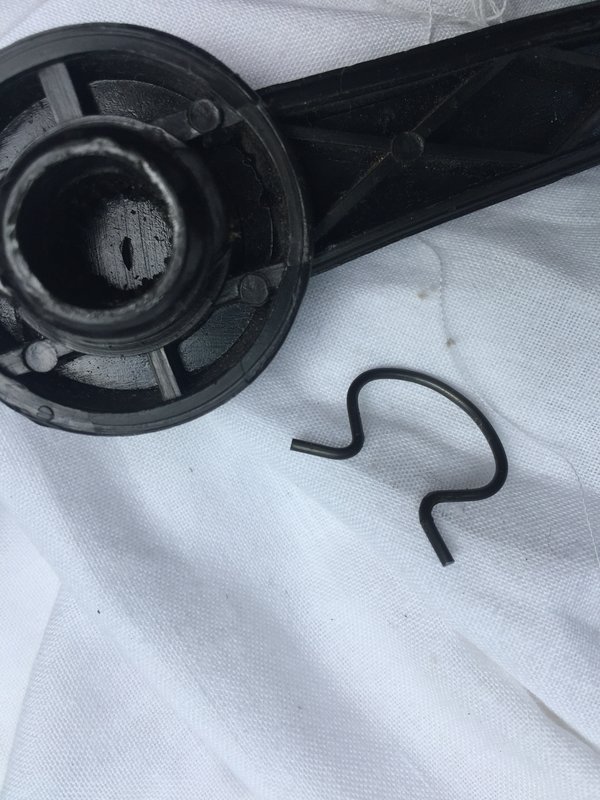
The idea is to work the cloth around and around until by chance it catches on the end of the horseshoe clip popping it off.  It took a few goes but, yes, it does work!


With that done I removed the door card and found, errr...


I see the skills of the restoration garage where in full working mode again!

Removing this mess with an eye to make a better job of replacing the weather sheet I found corrosion in the bottom of the doors and evidence the door had been repaired....but...there was no evidence of any drain holes.  OMG, they strike again, seriously for the sake of a couple of drain holes the corrosion could have been prevented along with a good application of Waxoyl.  It beggars belief.


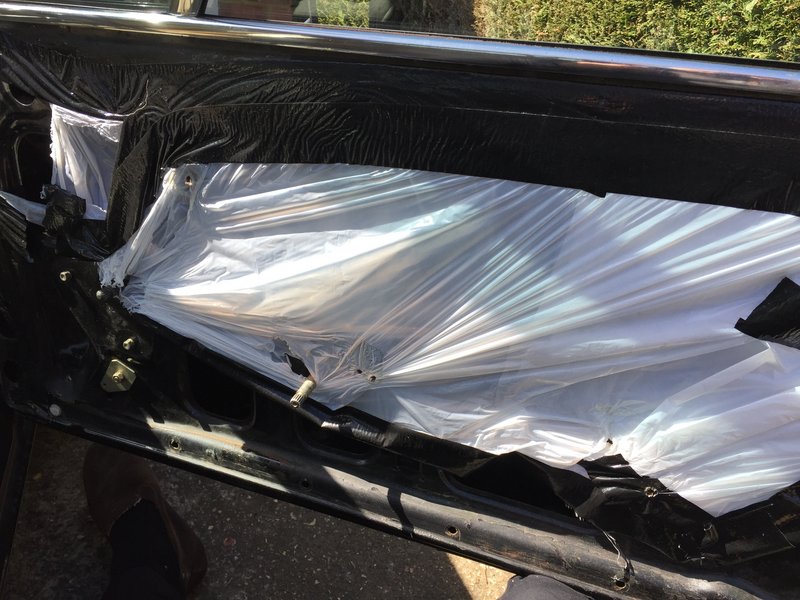
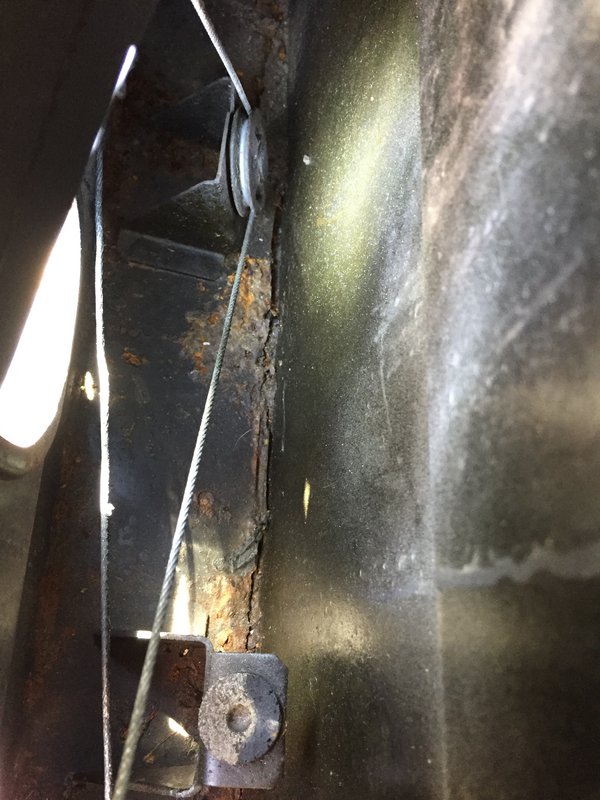
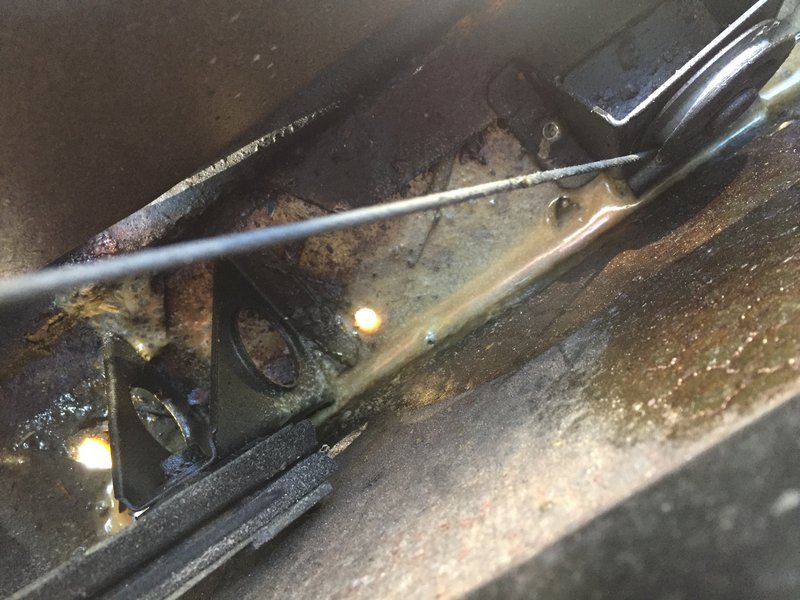
I cleaned out as much of the loose rust as possible and treated it with a rust converter.  Then I drilled two 1/4" holes (one front and one back) where there should have been holes and poured in about 200ml of diluted Waxoyl to protect as much as possible.  I made sure the holes where clear after the wax had hardened.

I guess the new holes work!  👍


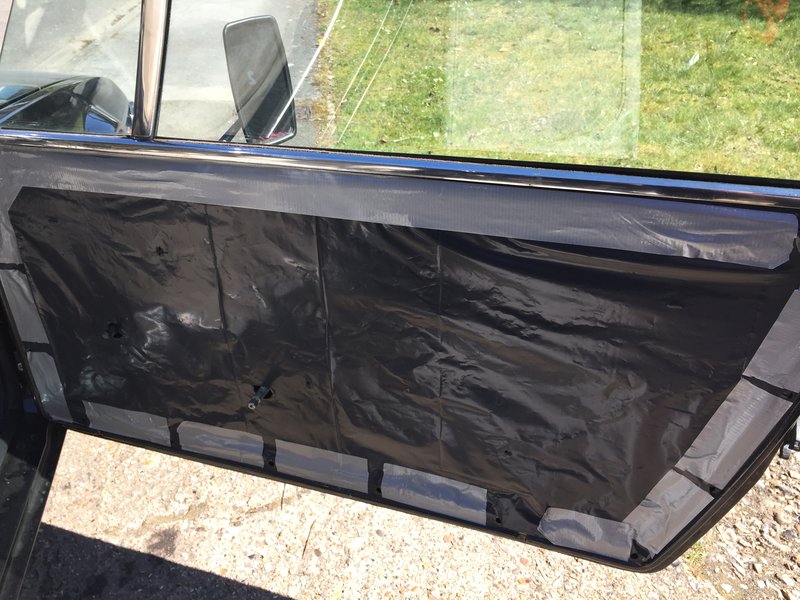
I cut a new weather sheet from a Wickes heavy duty rubble bag and taped it into place, not the best but better than what was there previously.  With that I used new door clips where necessary and put the door card back on.


Moving on to the passenger side, removing the door card revealed the original weather sheet was still in place.  I know the leading edge of this door is shot but it seems to be original and it has drain holes!  Yay!  So same procedure, vacuum, treat rust, pour in diluted Waxoyl and spread around.


Curious, I decided to remove the passenger side air scoop for a look see and found...


This is more serious.  The rear jacking points are located here and have previously been repaired, luckily it's way more solid than it looks with no corrosion holes.  You can probably just make out the welding rods still attached.  For the sake of some etch primer and corrosion protection this sort of thing can be avoided.  Crap workmanship.

Again I cleaned out all the loose rust and treated with rust converter and then poured in more Waxoyl!  The drivers side was thankfully OK, I think I may have Waxoyl'd it previously...anyhow, at some point I'm going to have to face up to it and get the sills and replaced and the bottoms of both doors along with a respray down both sides....sigh! 😞

Illumination

It has been an expensive few months since January, what with the cost of chroming the quarter bumpers and few significant Birthdays(!) I splashed out even more beer tokens on BART.  

Henk (http://www.x19partsholland.nl) had some nice NOS boxed chrome backed Carello front fog lights for sale.  BART would have been sold with them from new but had at some point been fitted with a set of Lucas spot lights instead.  So on my drive for originality I went and bought a pair!

They are nicely yellow and 'period' but are only a one wire connection, so I had to do a little jiggling and earth through the mounting bracket to get them working.


Here I'm testing the first.


I have to say they look rather splendid!